Image : http://www.flickr.com
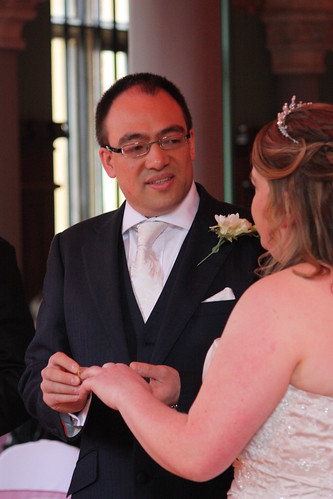
If you are scrapbooking your own wedding you are creating a historical document. Don't go for a small format like 8 by 8 for something this important. Buy a good quality scrapbook, letter size or 12 by 12. This will not only give you room for larger pictures, you'll be able to add copies of documents like the marriage certificate without losing too much space. You will want to copy all the pictures before you start to mess about with them, and of course you can scan and print your documentation at any convenient size.
As you think about the pages, consider the questions your daughter would ask you about the wedding, even if you don't have one. How long were you engaged? What was the ring like? When did you decide to get married? Where did the dress come from? Why did you choose it? How much did it cost? Think about the information you want to leave behind. Your wedding photograph album has the official version, you scrapbook can be as honest as you want it to be. You can tell the whole story of how his mother brought you bridesmaids you didn't want and didn't know, or how your mother hated the dress, or you can simply ignore anything unpleasant and pretend it didn't happen. When it comes to your daughters turn, it may be useful to be able to show her what you went through.
If you are scrapbooking a parent, or grandparents wedding you might like to create some embellishments which have been artificially aged. My parents wedding pictures are black and white, while my grandmothers are sepia. Both of these look a little odd on colorful backgrounds, so I'd suggest creating your own background pages. Find a relatively plain background paper you like and choose two two toning colors of Tim Holtz distress inks. Using a mask, such as The Flourish from Tim Holtz, you can create an effect which will be in your chosen colors, but will look printed, and it's much cheaper than using the ink in your computer printer!
Masks are ideal for wedding pages and very easy to work with. Just put the mask down on the scrapbook paper - it is adhesive but completely re-positionable. With a toning ink begin to dab around the mask using a sponge or blender. Tim Holtz masks are transparent which means that what you see is what you get. As you color areas of the page with your distress inks, blending and shading as you go, the area under the mask remains the same. Your background can be as subtle or as striking as you like, depending on the colors you choose. Using a fine water spray you can spread and blend the distress ink colors creating one of the mottled paper designs you see in expensive collections, only this time you are in control and can choose the right colors for your photos and layout. If you plan to put your photos in the middle, concentrate the ink effects towards the edge. It's easy to shade top to bottom or right to left, when you are in control of the shading! You can use this technique as often as you like - let the ink dry, move the flourish mask and work with another color, or use a different mask entirely. You can create wonderful effects by using masks and stamps together, create delicate, shaded backgrounds and stamp on top in white or gray ink this time, or leave the mask in place and stamp over that. Touches of gleaming gold can create a luxurious effect, and of course you can always add that touch of transparent glitter!
Weddings are intensely personal, and while there are many beautiful wedding papers, tags, frames and embellishments available to buy, nothing is quite the same as creating your own unique pages for your own family wedding. Once the pictures and other items are added, you not only have a wedding scrapbook, you have a family heirloom, ready to tell your story to generations yet to come.
Many of these layouts can be made using simple scrapbooking paper and Tim Holtz Distress ink Pads
0 comments:
Post a Comment